The Pro models of Mitutoyo’s Quick Vison series enable high measurement throughput. With the help of different models, measurement applications can be expanded by combining a vision measuring system with non-contact or tactile sensors and a white light interferometer. The variants offer different accuracy levels (1.5µm, 0.8µm and 0.25µm). Thanks to new observation and illumination units, the measurement throughput has been increased by about 40% compared to previous models. One reason for this is tracking autofocus (TAF), which allows height differences in workpieces to be detected by laser and compensated for by moving the Z-axis to keep the image in focus. Another factor is StrobeSnap, a new measurement function that combines strobe light and image capture to deliver measurements where both throughput and accuracy are high.
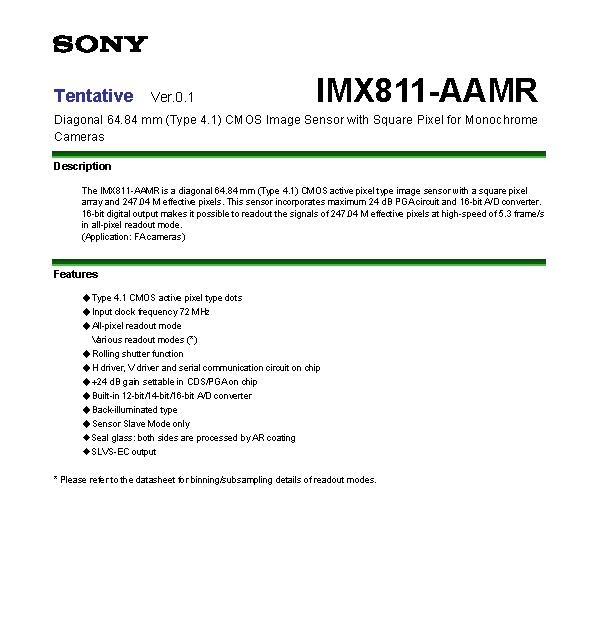
247MP CMOS by Sony
Sony recently released a 247MP rolling shutter CMOS image sensor available in monochrome (IMX811-AAMR) and color (IMX811-AAQR) variants which have a 64.84mm diagonal, a square pixel array, as well as 5.3fps.


